What surrender changes
Demanding surrender ends the war and makes a clan a vassal in the documented classic game. Its provinces contribute National Power; Oda can attack through them while other clans cannot pass through them. Some vassals may send a temporary helper into a battle. This can reduce border pressure, but it is not the same as conquering the clan and recruiting its commanders.
Use surrender when its concrete benefit solves your campaign problem. Before confirming, check three things: the clan’s unique recruits/rewards, its gourd and route consequences, and the borders the new vassal would create.
Conquest versus a vassal
| Decision | What you gain | What to check first |
|---|---|---|
| Conquer | Direct province control and the clan’s conquest/event path | Army losses, defense and the relevant character requirements. |
| Demand surrender | End that war, gain vassal NP and create a buffer | Missed conquest rewards/recruits, gourd progress and future route conditions. |
| Keep the war open briefly | Time to capture or complete a required encounter | Whether another turn adds more risk than the objective is worth. |
The community walkthrough warns that surrender can forfeit gold, items, Satisfaction, recruits or events tied to normal conquest. The exact loss is clan-specific. Do not read “vassal gives NP” as “vassal gives every reward without a battle.”
How to demand surrender
Find the clan’s Demand Surrender command after meeting its prerequisites. Negotiation is the relevant noncombat stat. Inspect the displayed requirement and choose contributing commanders; a missing command often means its unlocking event has not occurred.
Hara is a concrete example. The classic walkthrough records a surrender opportunity after its relevant Akihime event while at war, once Hara no longer holds two or more Ise territories. The command costs 18 Negotiation. This is separate from taking Ise outright and automatically capturing Shouji Hara. Compare the Hara opening if that recruit is part of your plan.
The source states that an already unlocked surrender demand remains available even if the original conditions later cease to apply. That is a classic documentation detail, not a tested Steam guarantee. Keep a save and confirm the command in your installed edition.
Use borders deliberately
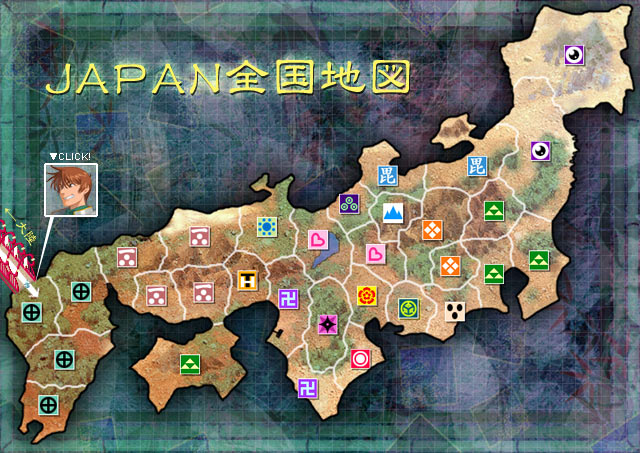
Imagine your next target lies beyond a friendly vassal. The documented access rule lets Oda reach it through that land while denying the same passage to other clans. Inspect the actual adjacent provinces before making the treaty: a buffer is useful only when it protects the border you care about.
National Power added by vassal provinces can help roster capacity. It still does not remove the need to inspect Cost, troop growth and available commander slots. Use the capacity guide before requesting another recruit.
Temporary battle helpers are not permanent recruits
The vassal reinforcement system generates a helper for a battle and removes it afterward. Its type and offensive/defensive availability depend on the clan. It is useful extra coverage, not a commander you can plan to develop or use in a character event.
This is a different system from requesting Kanami, Maria, Urza and other foreign commanders, who join through a waiting and reception queue. Use the foreign reinforcement guide for that system.
Check the route before treating diplomacy as harmless
Vassalizing a gourd-holding clan can break its gourd and advance the story. A peaceful result can still bring you closer to a route transition. In particular, the documented Kenshin route prerequisites require conquering Uesugi and Ashikaga; turning them into ordinary vassals does not satisfy those conquest requirements.
If you are pursuing a first clear, keep the True Route deadlines in view. If you are pursuing Kenshin, use her entry checklist. Save before diplomacy while a route-sensitive event is outstanding.
Before confirming
Read the clan’s own conditions, list the recruit or reward you would give up, inspect gourd progress, then check the proposed border. If the value is simply avoiding a difficult fight, compare that short-term gain with the event path you still need. There is no universally best conquest order or universally safe surrender.
Sources & version scope
- Community Walkthrough — Vassaling, Hara, gourd progression and route prerequisites.
- Community Game mechanics — map commands and Negotiation.
Sources checked 2026-10-08. These are documented classic mechanics; no first-hand Steam test is claimed.